How to set up sendmail
In this tutorial we will have all our mail forwarded to our Gmail account or other web based email. You can configure a server to have pop access and you can send mail through your server with SMTP, but why do all that when Gmail has such a nice system in place with spam filtering.
First, we need to go to the Webmin control panel and click the “Servers” link on the top left. Then select “Sendmail Mail Server” . If Sendmail is not set up on your server click the link in Webmin that says Yum will install it for you. You should be looking at this page:
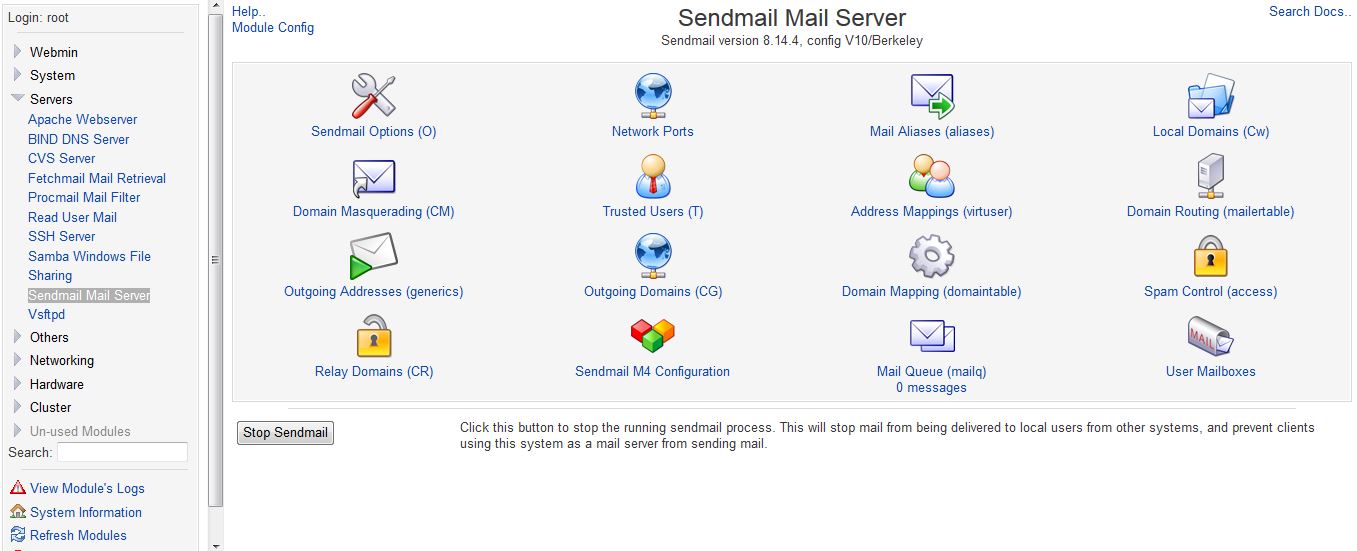
Click the “Sendmail M4 Configuration” icon. Now find the line in the page like this “DAEMON_OPTIONS(`Port=smtp,Addr=127.0.0.1, Name=MTA')dnl” . It’s about 3/4 of the way down the page, I use the find function in my browser.

Click the “Other” link that is beside the line you just found that is circled in the image above. Delete the portion of the entry that says “Addr=127.0.0.1,” and leave rest of the line alone so it looks like the image below:
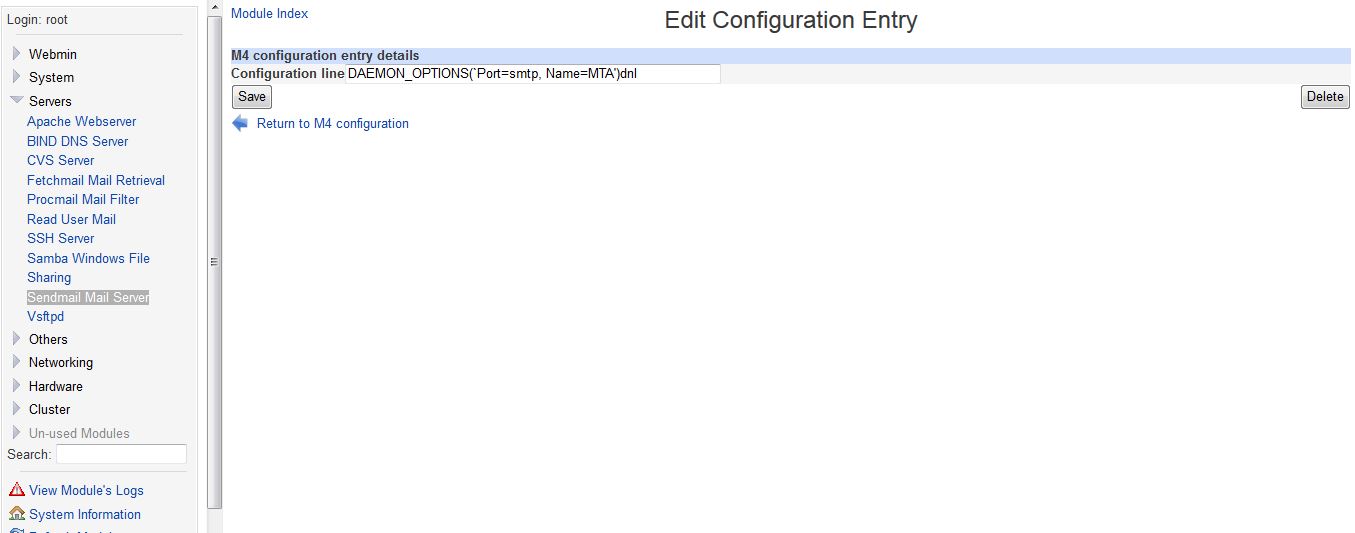
Click the “Save” button and you will be brought back to the Sendmail M4 Configuration page. Click the “Rebuild Sendmail Configuration” button at the bottom of the page, then click the “Yes Replace It Now” button that comes up on the page you’re sent to. Now you should be back at the Sendmail Mail Server page. Click the “Local Domains (Cw)” icon. For the purpose of this tutorial we will be setting up the domain vpsshack.com to forward mail to our Gmail account. Enter yous domain in to the text box on the page, leave the 2 entries that are already there alone.
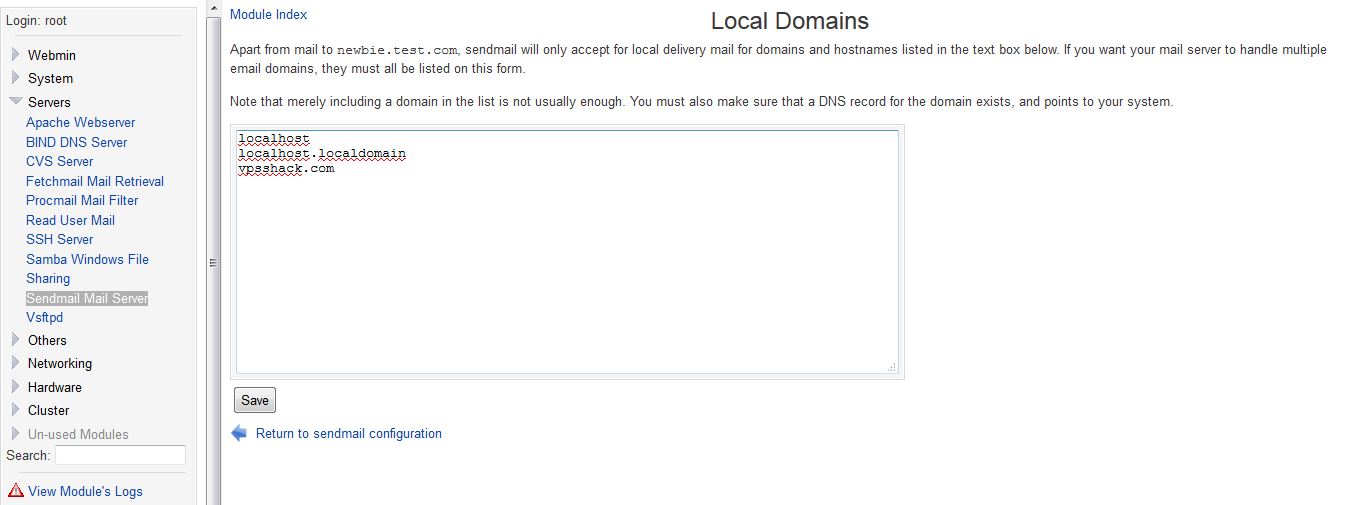
Click the “Save” button. You should be brought back to the Sendmail Mail Server page. Click the “Relay Domains (CR)” icon. Enter your domain name in the text box.
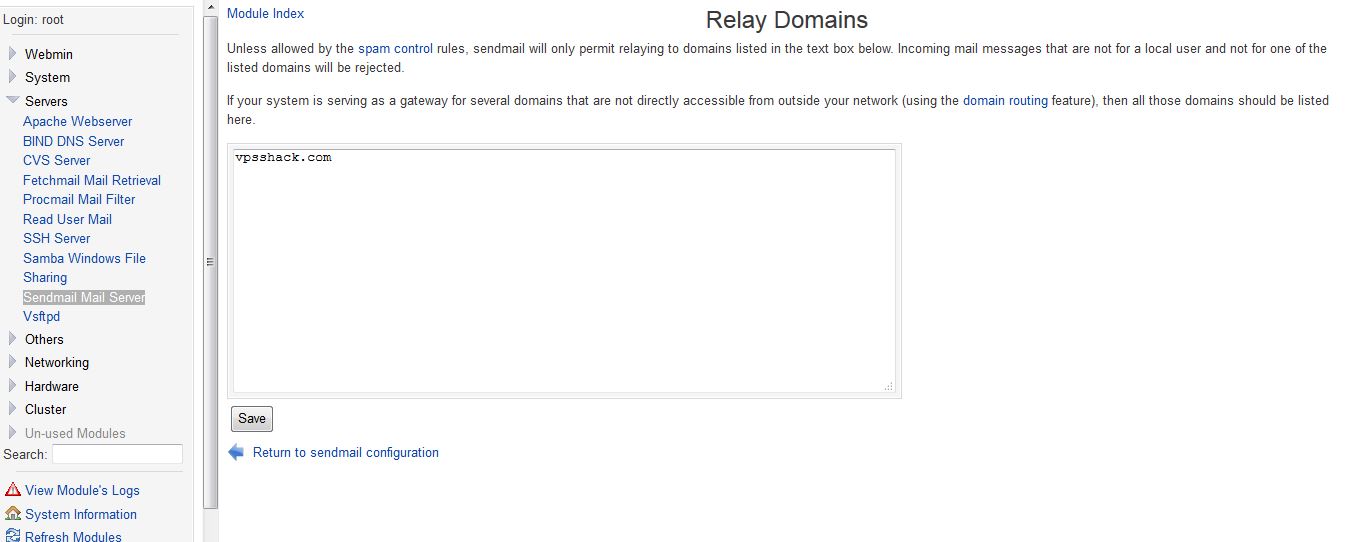
Click the “Save” button. You should be brought back to the Sendmail Mail Server page. Click the “Address Mappings (virtuser)” icon. Select the “Domain” field in the “Mail For” section and add your domain to the text field. Then select the “Address” field in the “Send To” section and put the address you want the mail for this domain sent to.
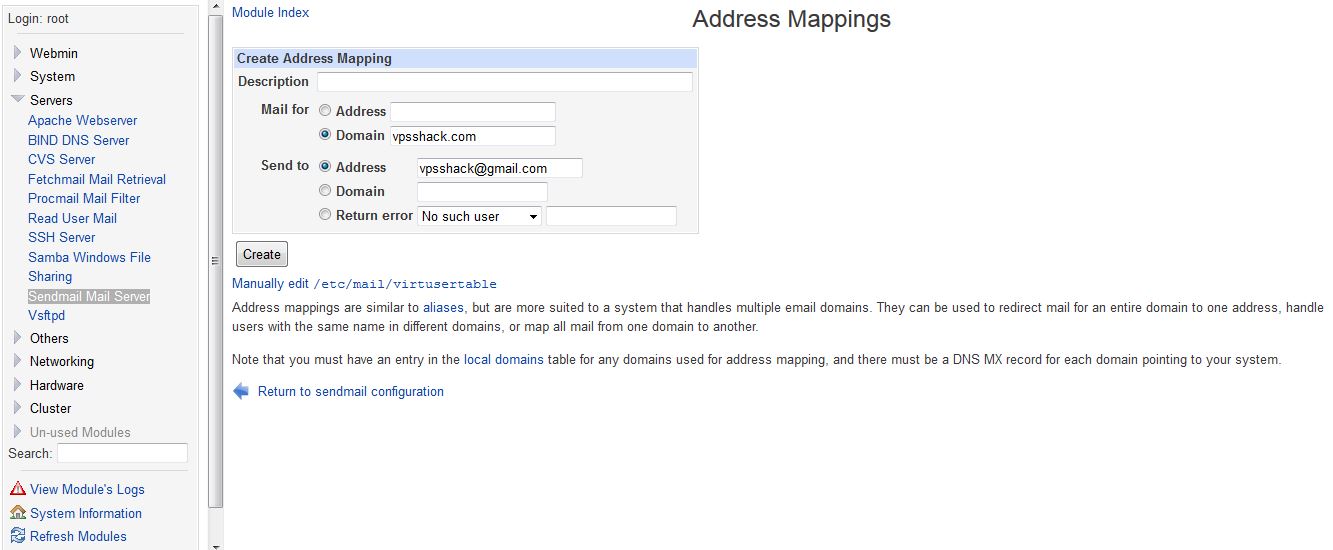
Click the “Create” button. Click the “Module Index” at the top of the page.
Click the “Stop Sendmail” button. When it has stopped click the “Start Sendmail” button.
Now all the email for that domain should be forwarded to the email address you told it to go to. There will be no copies of the email left on the server. Try to send yourself an email, anything@domain-you-set-up.com . It should be forwarded to the Gmail or whatever account you configured it to go to.
Leave a reply
You must be logged in to post a comment.