Install Fail2Ban and make a firewall on a Ubuntu 16.10 VPS
This tutorial uses Webmin and Ubuntu 16.10. If you don’t have Webmin installed and want to please go to our tutorial here.
The first thing we do to keep unwanted visitors out of our VPS or server is install Fail2ban. Fail2ban keeps hackers out by blocking brute force attacks, it locks an IP number out after just a few unsuccessful attempts.
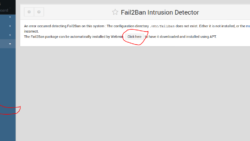
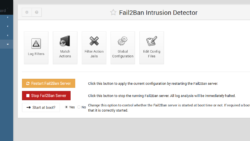
Go to your Webmin control panel and the menu on the left side of the page and click Unused Modules =>Fail2Ban intrusion Detector.
On the Fail2Ban Intrusion Detector page like the image above, click the “Click Here” button and Apt will install the Fail2Ban server on your VPS.
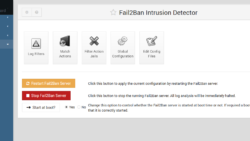
After Fail2Ban installs go to the bottom of the page and click “Return to Fail2Ban module”
Click the “Filter Action Jails” icon and select sshd.
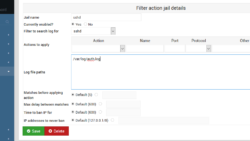
Click the “sshd” link
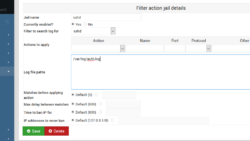
For “Jail Name” input sshd
For “Currently enabled” select the “yes” option
For “Filter to search log for” select “sshd”
For “Log file paths” type /var/log/auth.log on the text box.
Then click “Save” at the bottom
Go to the main menu on the left and go to Networking=>Fail2Ban Intrusion Detector
Click the “Restart Fail2Ban Server button.
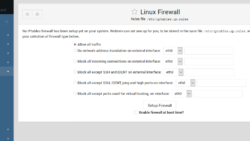
Now we put up a firewall the lazy man’s way with Webmin. Click Networking=>Linux Firewall.
Depending on what you will be using your VPS for is how you choose what to allow. I will be making a web server for websites with this VPS, so I would choose the bottom option. “Block all except ports used for virtual hosting, on interface:
Make sure the “Enable firewall at boot time?” option is enabled, then click “Setup Firewall”
On the next page click “Apply Configuration” buttonG
I always like to reboot my VPS now just to make sure I haven’t locked myself out of it. Go to System=>Bootup and Shutdown. Scroll to the bottom of the page and click the “Reboot System” button. Then click the “Reboot System” button on the following page.
This along with disabling root login as we did on this page, will help keep the evil doers out of your server for a while.
