How to install Apache, MySQL and PHP on Ubuntu 16.10
This tutorial will attempt to illustrate the procedure for installing Apache, MySQL and PHP on an Ubuntu 16.10 server using only the Webmin control panel.
It is assumed that you already have Webmin control panel installed. If not go here for installation instructions.
Apache is installed first, go here for instructions on installing Apache with Webmin. Return here for instructions on installing Mysql and PHP.
To install MySQL:
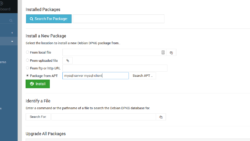
Open Webmin control panel in your browser and login to your server. Go to System ===> Software Packages.
Select the “Package from APT” field and type or copy and paste “mysql-server mysql-client” without the quotation marks into the text field. Click the “Install” button.
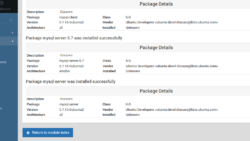
When everything is done installing scroll to the bottom of the page and click the “Return to module index” button.
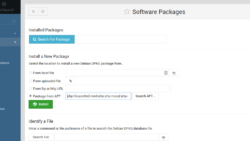
To install PHP 5, for older scripts:
Select the “Package from APT” field and type or copy and paste ” php libapache2-mod-php php-mysql php-curl php-gd php-pear php-imagick php-imap php-mcrypt ” without the quotation marks.
Click the “Install” button.
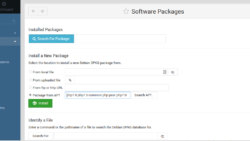
To install PHP 7.0, for WordPress and newer scripts:
Select the “Package from APT” field and type or copy and paste ” php7.0 php7.0-common php-pear php7.0-gd php7.0-mysql php7.0-bz2 php7.0-cli php7.0-curl php7.0-gmp php7.0-imagick php7.0-json php7.0-ldap php7.0-mcrypt php7.0-mbstring php7.0-pdo ” without the quotation marks.
Click the “Install” button.
If everything went OK you should now have Apache, MySQL and PHP 5 or 7 installed.
Click here to create a MySQL user and database.


Leave a reply
You must be logged in to post a comment.