This tutorial explains how to install a VNC server and a desktop on your VPS or server. We are using Centos 6 and Webmin to accomplish this ( Webmin installation tutorial). We will also be downloading TigerVNC , a free VNC viewer that we will use to connect to our VNC server on our VPS or server from our local computer.
This can be accomplished by typing the commands into your server via SSH as root, or you can use the Webmin control panel like this tutorial will. Open your Webmin control panel in your browser and go to Others ===> Command shell
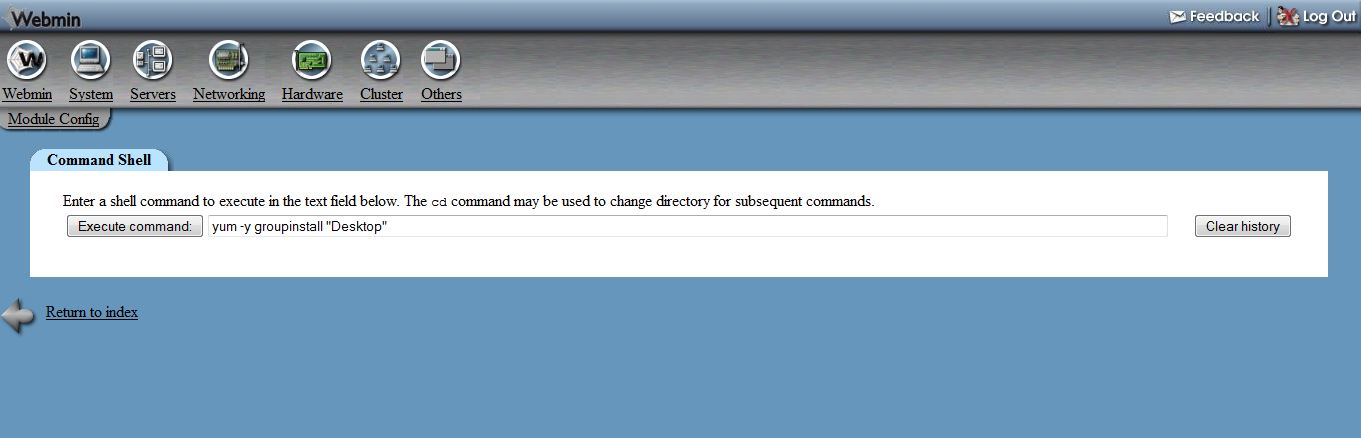
Type ” yum -y groupinstall desktop ” without the quotation marks in the text field and press the “Execute command:” button. This is going to take a while, don’t panic if the page doesn’t load for a few minutes. It is installing the Gnome Desktop Group on your VPS. When that has completed type or copy and paste “yum -y install tigervnc-server xorg-x11-fonts-Type1” without the quotation marks and press the “Execute command:” button . Now to start the VNC server on your VPS we will need to start it as a user other than root for security reasons. In your Webmin control panel go to Others ===> Text Login
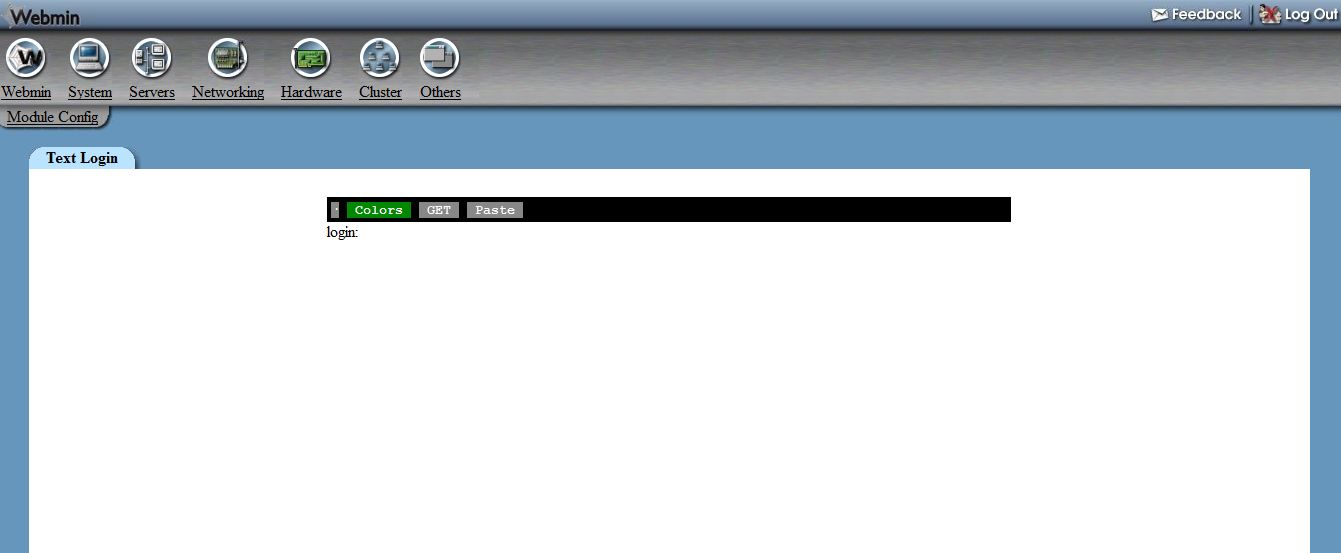
Now type in the username you would like to run VNC server under, for this tutorial we will use “oscar” since we already created the user “oscar” on this VPS in a previous tutorial. Press “ENTER” on your keyboard. Type in your password when prompted. It will look like you’re not typing anything when you type in your password, this is done for security reasons. When done typing in your password press “ENTER” on your keyboard. You should be logged in as the user you wish to connect to your VPS as. Type “vncserver” without the quotation marks and press “ENTER” on your keyboard.
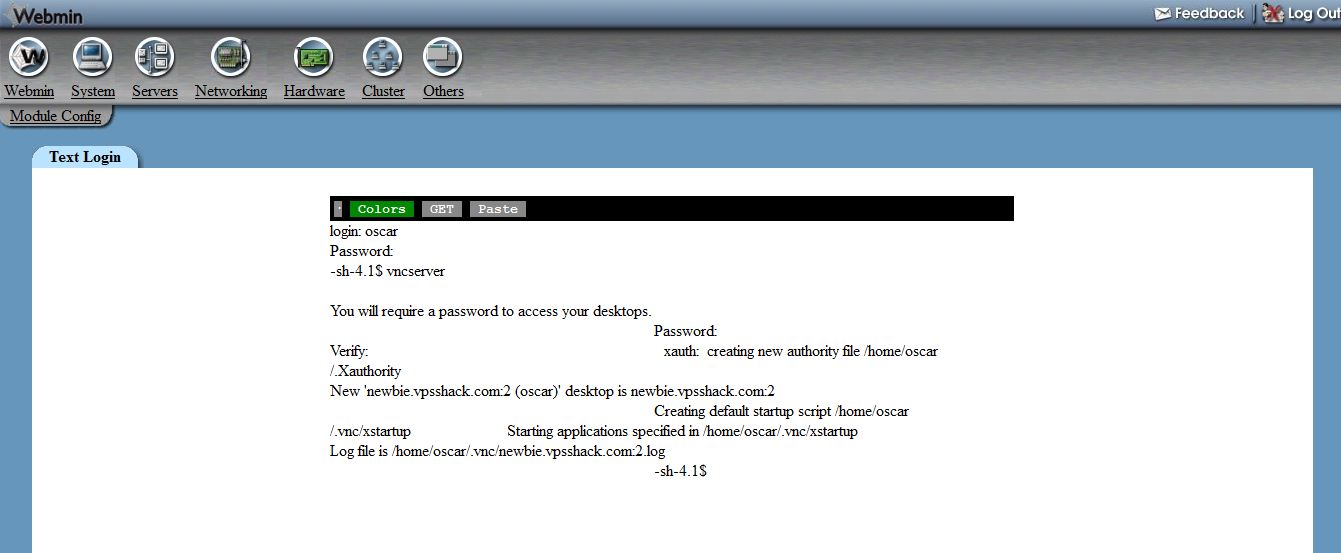
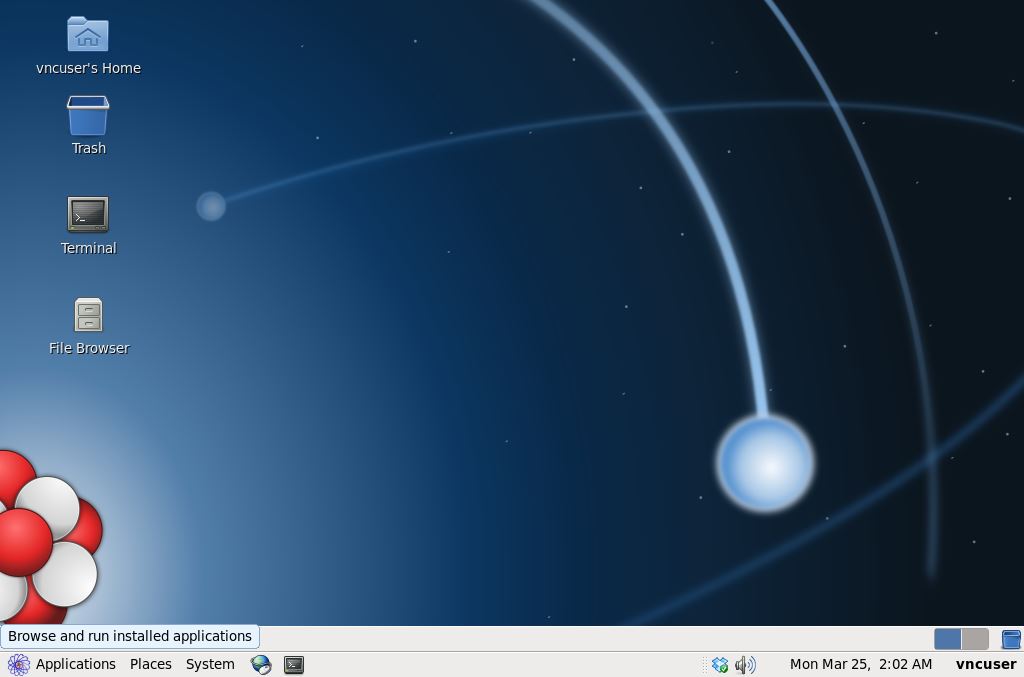
Your VNC server is now started and your desktop has been created. Now all we have to do is download TigerVNC, install it on our local machine and connect to our VPS to use our new desktop. After you get the program downloaded and installed start the TigerVNC Viewer on your computer and type in the IP number of your VPS your VNC server is running on and the port number which in our case is 5901 .

In the picture above my port number is 194.435.222.222 (fictitious of course) and the port number my VNC server is running on is 5901 . If you followed this tutorial your port number will also be 5901 . Input your password then press “Ok” and you should have a screen with your new desktop:

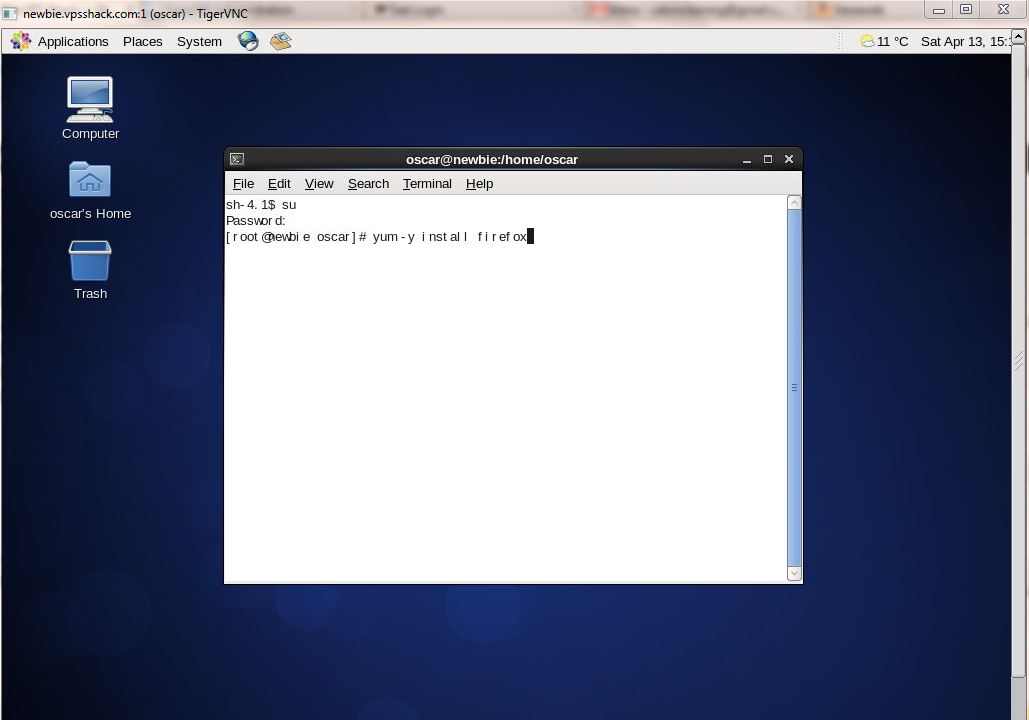
Click Applications ===> System Tools ===> Terminal and input “SU” without the quotation marks and hit “ENTER” on your keyboard. Then input the root users password for your VPS or server and hit “ENTER” on your keyboard. You should now be the root user and able to install software. First let’s install Firefox browser. Type “yum install firefox” without the quotation marks in to the terminal window.
Hit the “ENTER” on your keyboard and Firefox will be installed. Click Applications ===> Internet ===> Firefox Web Browser to surf the internet. You may want to install Libre Office, a Microsoft Office like suite of programs;
“yum -y install libreoffice” without the quotation marks.
You may also want to install Gedit, a Notepad like program to edit text files
“yum -y install gedit” without the quotation marks.
Feel free to comment on this tutorial or add your own desktop programs people may like.
Leave a reply
You must be logged in to post a comment.