How to install Mysql and PHP
This is a short tutorial to show how to install Mysql and PHP on a Centos 6 server with the Webmin control panel.
In your Webmin control panel click the “System” link on the top left, then click the “Software Packages” link. Select the “Package from YUM” field and type: “php mysql mysql-server php-mysql” without the quotation marks.
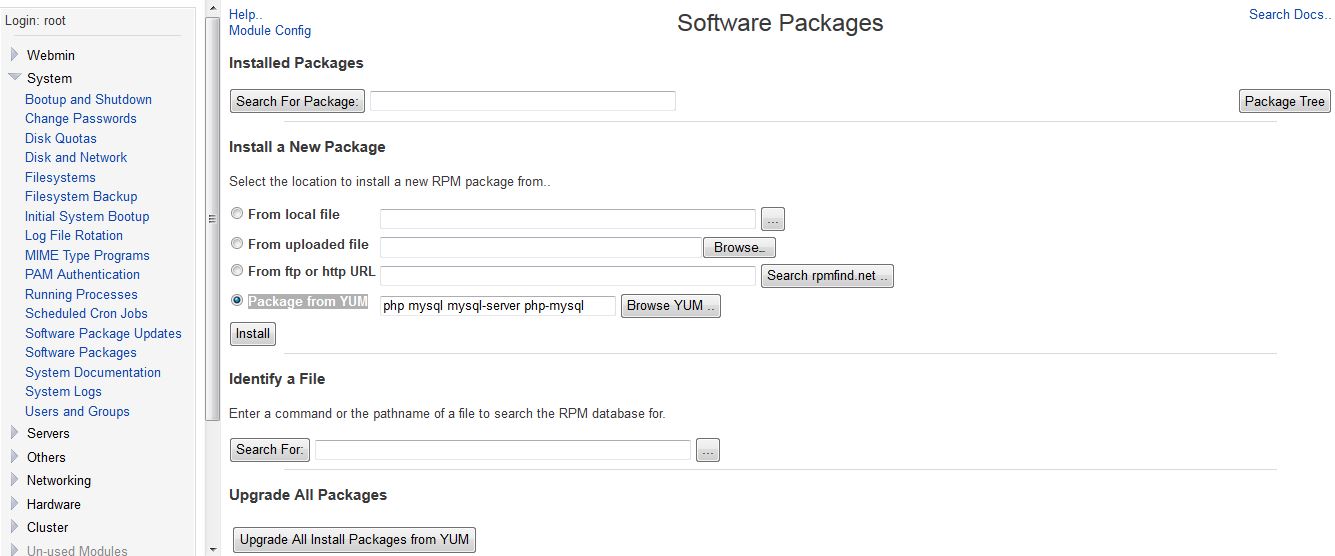
Click the “Install” button. Wait a few seconds for YUM to finish.
Click the “Servers” link on the top left, then click “MySQL Database Server” . When I looked for the “MySQL Database Server” link when writing this tutorial there was no “MySQL Database Server” link. I had to change to the MSC Linux Theme in Webmib==>Webmin Configuration==>Webmin Themes. You can always change the them back if you want. The MYSQL link will be there if you change back to the Grey Framed Theme or experiment with other themes.
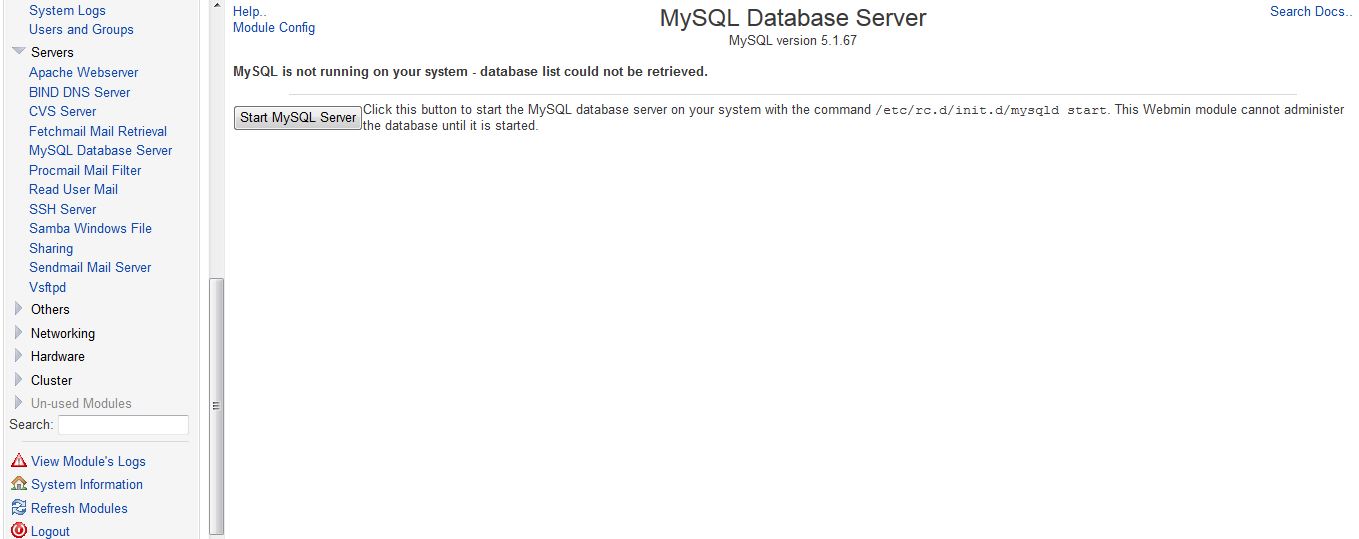
Click the ” Start MYSQL Server” button.
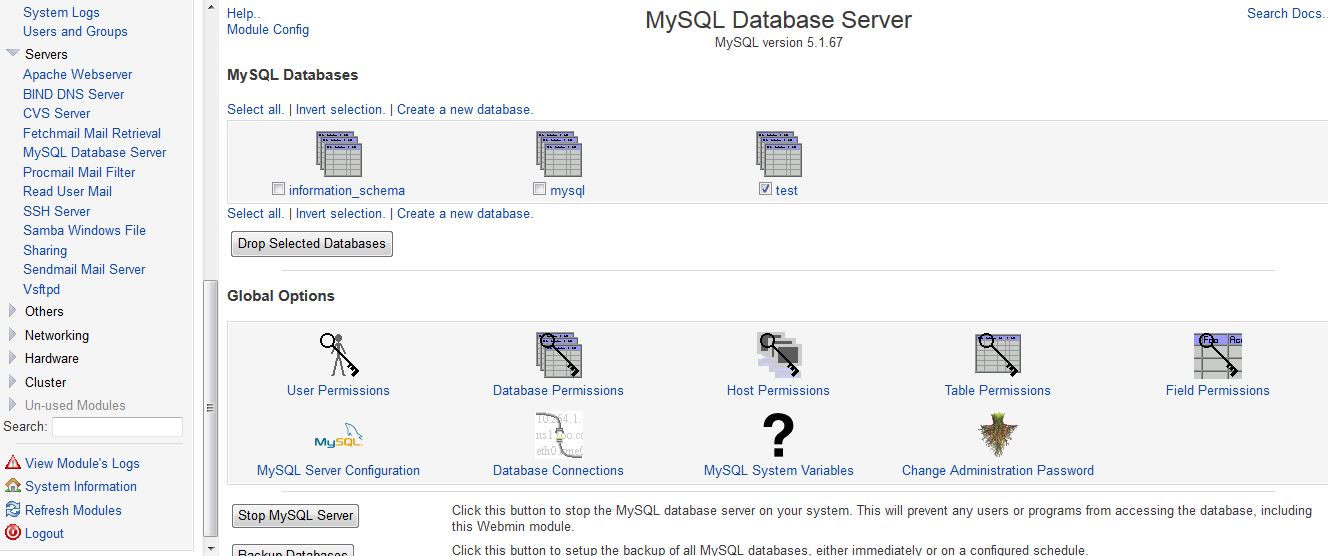
Delete the “test” database by clicking the check-box next to it and clicking ” Drop Selected Databases ” . This is done for security reasons.
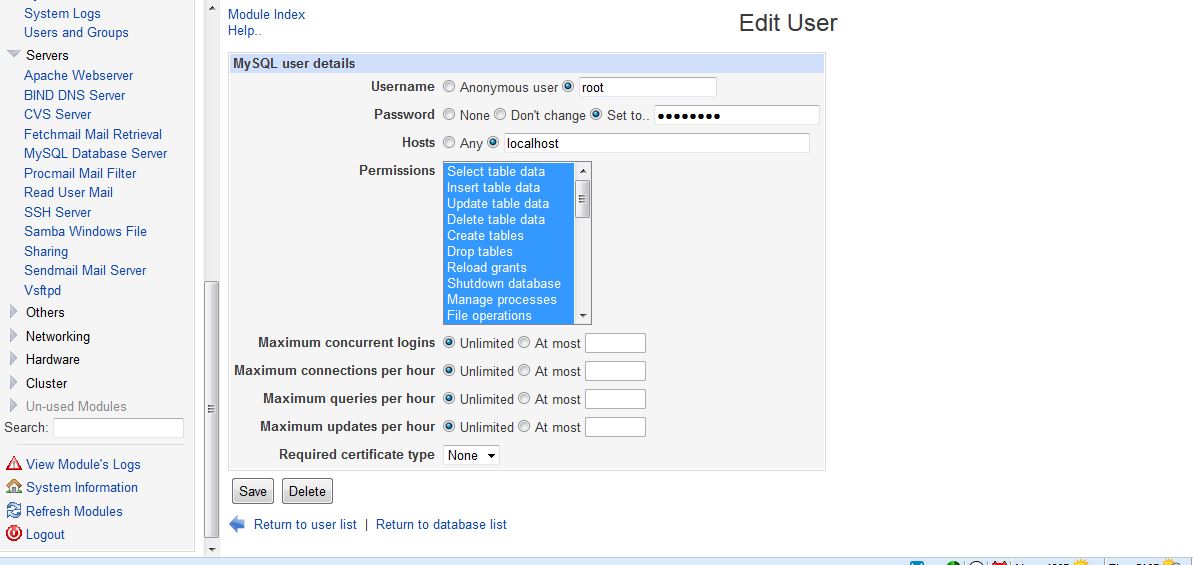
Click the “User Permissions” icon and delete all the users except for user “root” at hosts “localhost” .
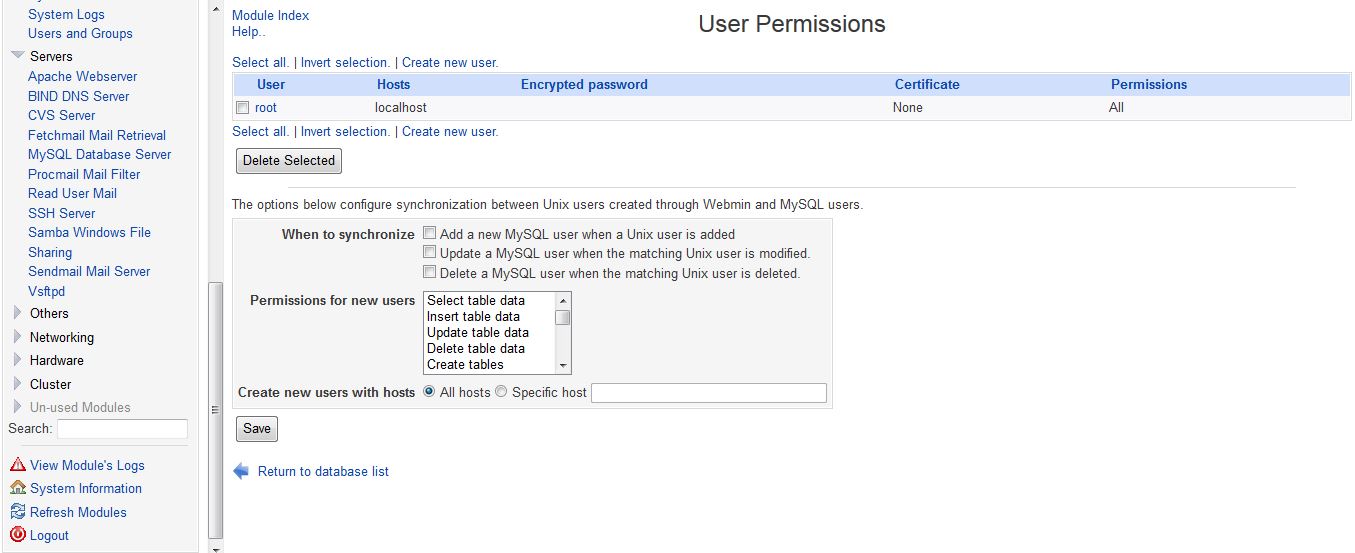
Click the “root” link under the “User” category. Select the “Set To” field and type in a password for root. Remember this password, you will need it later. Click the “Save” button. Then click the “Return to database list” link.
Now stop the MYSQL server and start it again. You may want to go to “System” then “Bootup and Shutdown” and make sure your mysqld server is set to start at boot if you need it to. Restart Apache and you’re ready to make a user and database in this tutorial.
Leave a reply
You must be logged in to post a comment.