Secure your CentOS 7 server with Fail2Ban and a firewall
This tutorial uses Webmin and Centos 7.3 If you don’t have Webmin installed and want to please go to our tutorial here.
The first thing we do to keep unwanted visitors out of our VPS or server is install Fail2ban. Fail2ban keeps hackers out by blocking brute force attacks, it locks an IP number out after just a few unsuccessful attempts.
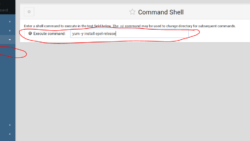
To install Fail2Ban we must first install the epel repository. Go to the side menu on your Webmin control panel and click Others=>Command Shell
Type ” yum -y install epel-release ” in the “Execute Command” box and press the “Execute Command” button.
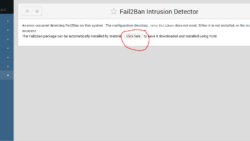
Now th install Fail2Ban. Go to your Webmin control panel and the menu on the left side of the page and click Unused Modules =>Fail2Ban intrusion Detector.
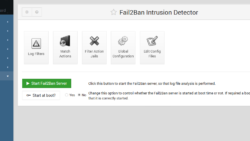
Click the “Click here” button to install Fail2Ban server with yum. When Fail2Ban is finished installing go to the bottom of the page and click the “Return to Fail2Ban module” button.
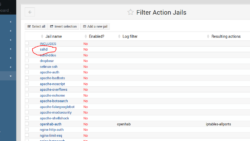
Click the “Filter Actions Jail” button. Then click the “sshd” link like the image below.
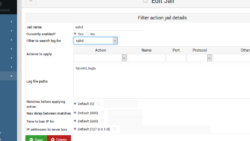
Fill in the form like the image below and click “Save”
Scroll to the bottom of the page and click the “Return to module index” button.
