How to set up Apache web server with Ubuntu and Debian
Most people get a VPS to host their web sites. This is a quick tutorial to show how to get your simple web site up and running in Apache. We will be using Webmin control panel to achieve this. You must already have a nameserver pointing your domain to the IP number you will use. You can use your host, your domain provider (Namecheap, Godaddy, Enom, etc), a third party nameserver service or you can create your own. However you do it, you must have your domain pointing to the IP number on your VPS. Here is a tutorial to create your own nameserver if you should so choose. It’s much easier to use your registrar though.
We will start by going to our Webmin control panel and logging in. Then go to the menu on the left and select “Servers” , then “Apache Webserver” . You should see a screen like this:
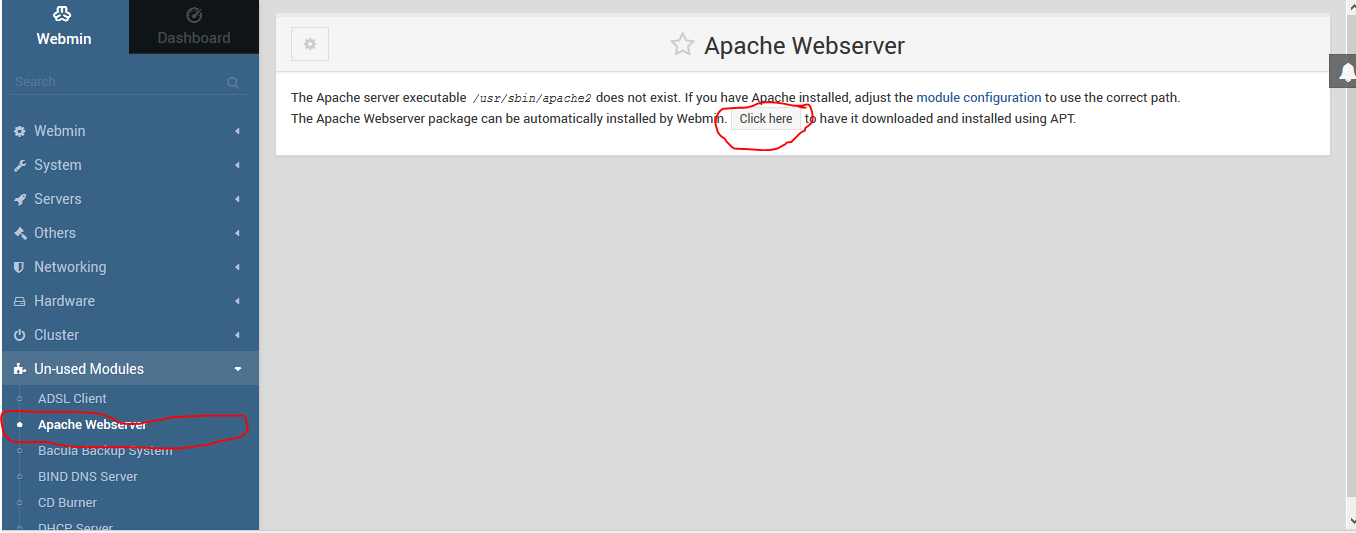
If Apache is not installed on your server click the link on the page that says ” Click here” and APT will install it. When Apt has completed installin Apache and all it’s dependencies scroll to the bottom of the page and click the “Return to Apache Webserver” button.
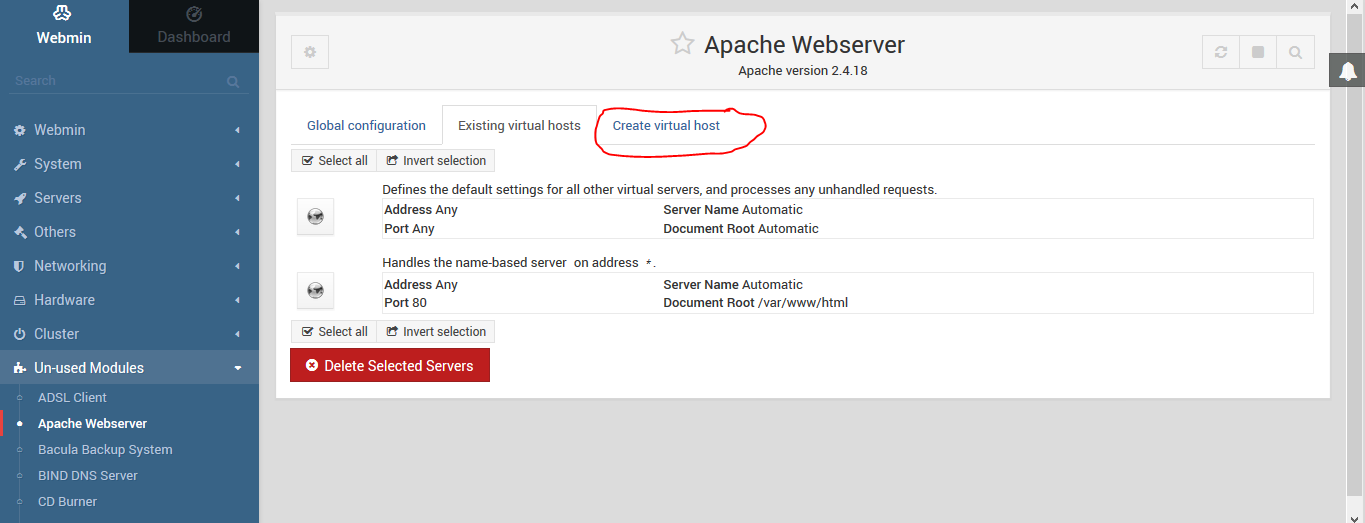
We will be setting up the domain “vpsshack.com” for a simple website with Apache. Click the “Create virtual host” tab and you should see a page like below.
For the “Port” field click the radio button next to the empty field and put in 80.
“Document Root” is where we tell Apache to look for our new website. in my case it is /home/oscar/vpsshack.com .
Next fill in the “Server Name” field. In my case it is vpsshack.com . Leave everything else alone and click the “Create Now” button.
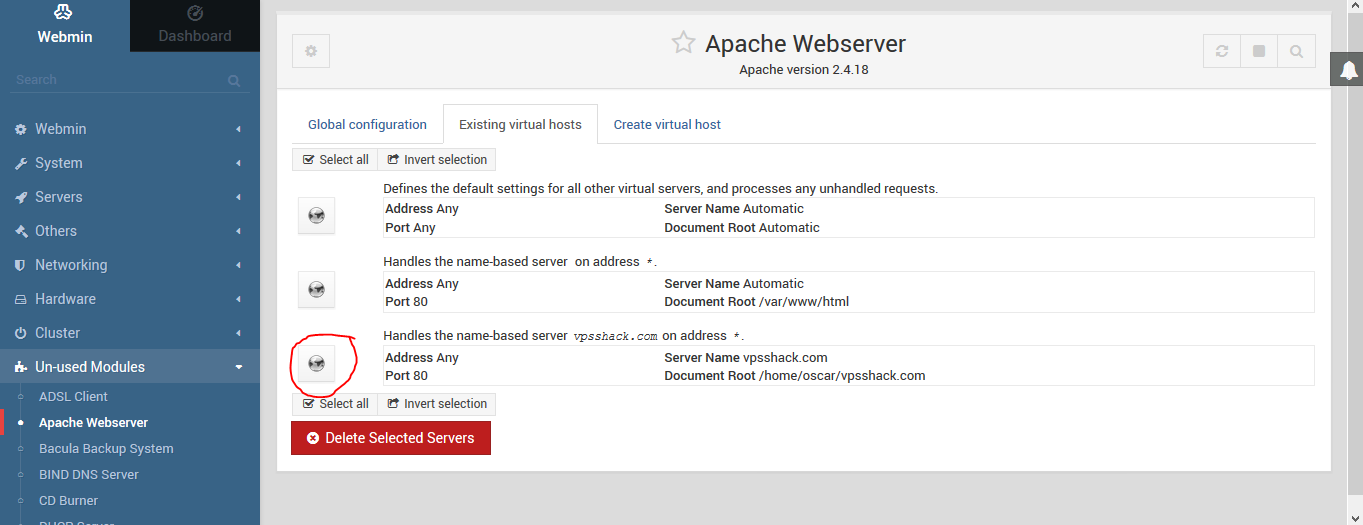
Click the icon next to the virtual server you just created like the picture above.
Click the “Networking and Addresses” button.
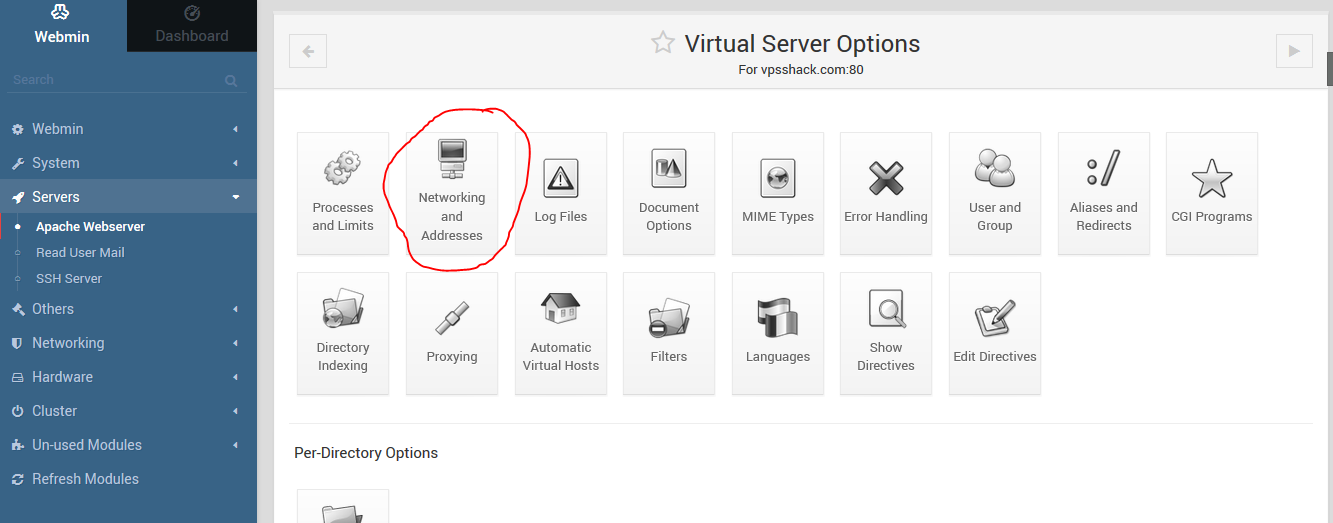
In the text box next to “Alternate virtual server names” input *.yourdomain.com. In the picture I have *.vpsshack.com .

Click the “Return to server index” button, scroll to the bottom of the page that appears, and then click the “Return to server list” button at the bottom of the page.

You may want to click the “Apply Changes” link to make sure Apache has read the files you just configured. Your site should be reachable from the web now as long as you created the directory you specified and put an index.html file in there. If you can not reach your site by typing in the domain name, make sure your firewall is not blocking you and make sure the path you typed into the “Document root” field is correct. There are endless different configurations in Apache, this tutorial just gives the basics needed to get a static web site visible over the internet.